1. To delete a location, you have to be first on your admin account.
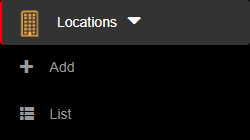
2. Press on the Locations tab ( ) from the left side of the page.
3. Then press on the List tab ( ) from below in order to see all locations.

4. Then press on the Delete button (  ) on the right of the wanted location.

5. Once pressed, the location will be deleted, so think twice before taking this kind of action.
1. To edit a location, you have to be first on your admin account.
2. Press on the Locations tab ( ) from the left side of the page.
3. Then press on the List tab ( ) from below in order to see all locations.

4. Then press on the Edit button (  ) on the right of the wanted location.

5. Here you can modify the wanted fields. After modifying the fields, press on the Update button in order for the changes to take effect.

1. To view a location, you have to be first on your admin account.
2. Press on the Locations tab ( ) from the left side of the page.
3. Then press on the List tab ( ) from below in order to see all locations.

4. Then press on the View button (  ) on the right of the wanted location.

5. Here you will see the information only from that selected location. From here, you can either go back to the list by pressing the Back button or go to the edit section by pressing the Edit button.


1. To add a new location, you have to be first on your admin account.
2. Press on the Locations tab ( ) from the left side of the page.
3. Then press on the Add tab ( ) from below in order to add a new location.

4. Here you will have to fill in the required fields in order to add a location.
5. After filling in the fields, you can either press on the:
- Back button – this will return you to the list of locations.
- Save & exit button – this will create a record based on the completed form and return you to the list of locations.
- Save & new button – this will create a record based on the completed form and show a new form to create a new location.


Manage your established LOCATIONS
Locations are used in order to attach all the tracking info of all of your users and their activities in a single place.
- Create detailed locations
- Track user activities seamlessly
1. To view the admin dashboard, you have to be first on your admin account.
2. Press on the Home tab ( ) from the left side of the page.

3. Here you will see information about the Subscription Plan, Locations, Operators, Residents, Notifications and Current events as well as shortcuts to the lists by pressing on their respective rectangular area.
1. To reorder columns, you have to be first on your admin account.
2. Press on any Module tab that has a list from the left side of the page.

3. Then you can drag and drop any column and reorder them however you want (keep in mind that not every list has this kind of feature). You can also go back to the default column order by pressing on the Reset columns button on the left side of the page above the name columns.
1. To edit the admin settings, you have to be first on your admin account.
2. From the top right corner of the page you will be able to see and use the Help Section ( ), Notifications ( ) and Settings ( ).
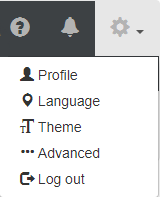
3. From Settings you can change the following options: Profile, Advanced (Blacklist message, timers and indicators), Language (Language and Timezone) and Theme (Color scheme).


3.1. In the Advanced section, you can set up and personalize a Blacklist message using the buttons (Location where the blacklisting occurred, Operator who created the blacklist record, Information about the blacklisted person/auto, Operator observations/reason for blacklisting) below the text area and you can also set multiple Blacklist timers for operators to choose when they blacklist a record by entering a number (days) and then pressing the Plus button ( ) or Remove button ( ) if you want to remove the added number.
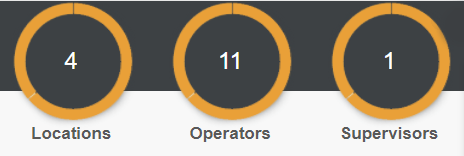
3.2. In the Advanced section, you can set up and change the Indicators (the top right info circles) by selecting for each indicator an existing element to represent.


4. After setting up all the desired configurations, press on the Save button in order for the changes to take effect.

1. To edit the admin profile, you have to be first on your admin account.
2. From the top right corner of the page you will be able to see and use the Help Section ( ), Notifications ( ) and Settings ( ).
3. From Settings you can change the Profile which contains your general account information and from where you can change most of your personal information, including your password.


1. In order to use an admin account, you have to register a new account first (see “Creating a New Account” for more information). The newly created account will be the admin account.
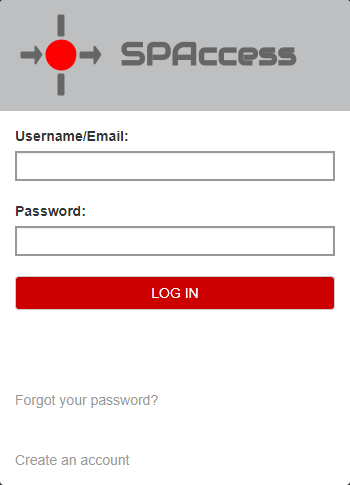
2. Once you finish registering your new account, enter your email and password in the fields provided and log-in.

![]() ) from the left side of the page.
) from the left side of the page.
![]() ) on the right of the wanted location.
) on the right of the wanted location.![]()


