ITEM LISTS
Only the admin is allowed to use and set up this module.
This section aims to create an item list for residents to use for different cases. To create an ITEM LIST, you must first log in the application as an Admin user, access the settings section and follow the steps below:
Add Item List
- Press on the Item list from the left menu.
- Press on Add from inside the page.
- Fill the name, select the type and press on the Save button.
Add/Import/Edit Item List Items
- Click on the Item lists from the left menu.
- Click on List from inside the page.
- Fill the name, select the type and press on the Save button.
- Click the Residents button and select the residents that will use this list.
- Add items manually or by importing an excel .xls file:
- Manual – By typing the name and then pressing the plus icon.
- The items can have a hex color (#CC0000) changed or deleted by pressing the eraser icon.
- Import – By downloading a sample file from pressing the Download form button.
- Fill the excel file with values in the ItemValue (Product Name) and itemColor (#CC0000)
- Save the file
- Import the file by pressing the Import data
- Select the import mode: Replace items or Add items
- Press the import file button and select the file
- Manual – By typing the name and then pressing the plus icon.
- Click the update button
View/Search Item List
- Click on the Item lists from the left menu.
- Click on List from inside the page.
- View all the item lists or search specific lists by typing in the column name of the table
Edit Item List
- Click on the Item lists from the left menu.
- Click on List from inside the page.
- Click the Cloud icon.
- Modify the wanted fields and then press the update button.
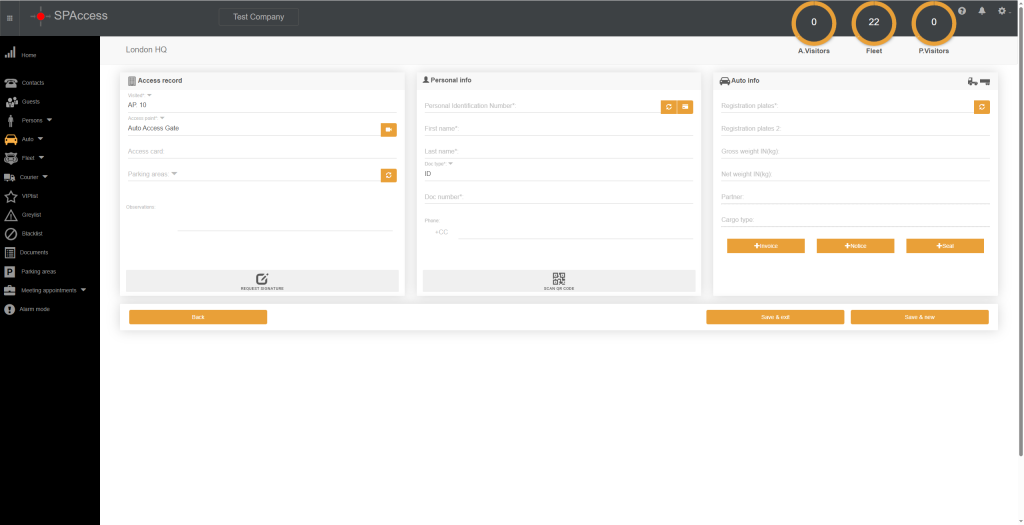
Operators can see and interact with the Cargo type once the item list is set for the selected Resident in Visited field for Auto record when adding or check-in.


